Apache Flume is a tool for collecting and aggregating logs and events from different sources (e.g. Elasticsearch, Http, File directory) and dumping them into various sinks (e.g. Hadoop, Hive, File etc.). It has a flexible architecture that allows for many extension points and can easily integrate custom components.
Here is what we will be doing:
- Set up a Maven project in Eclipse IDE and add Apache Flume dependency to it.
- Set up Build configuration to successfully build the project
- Create a custom HTTP Source event handler.
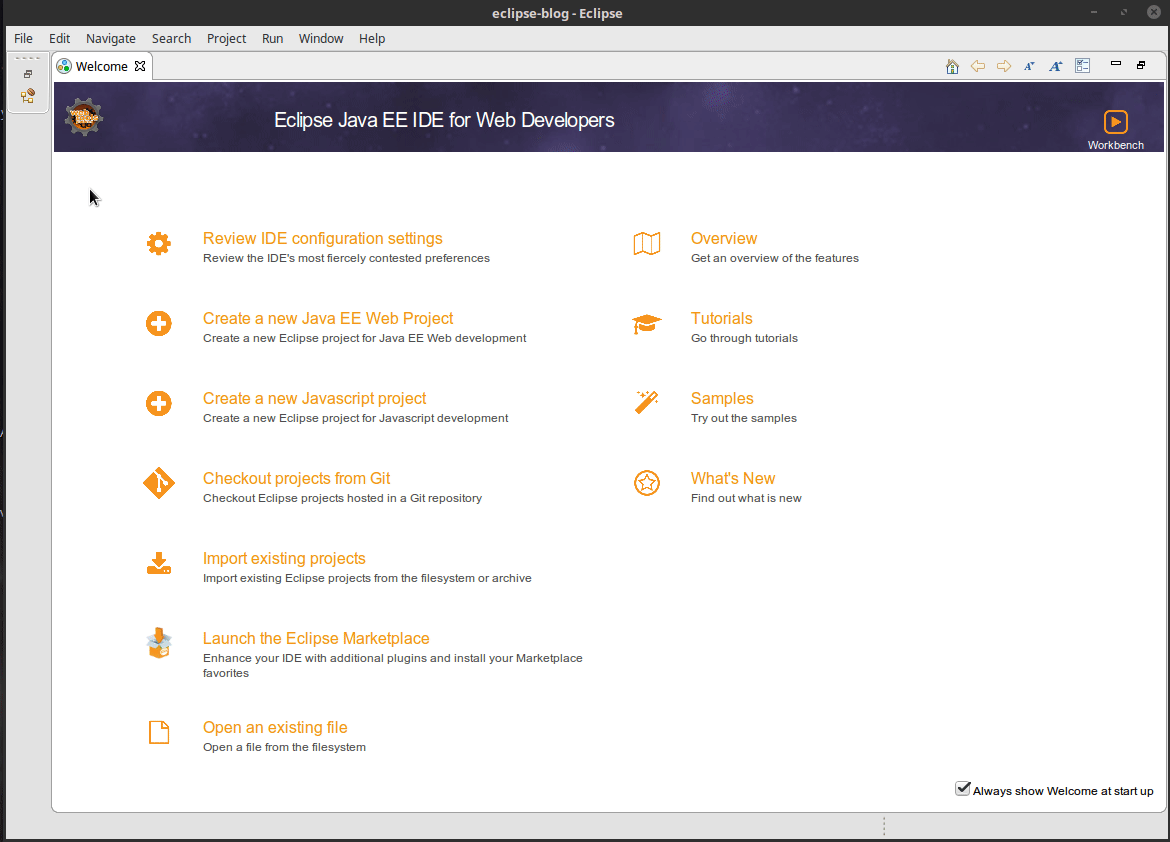
#1 Setup Maven project in Eclipse with Flume dependency
For this, we need to open Eclipse IDE and create a Maven project.
- Go to File -> New Maven Project. This will open create project window
- Click next. You find that in archetype selection Group Id
org.apache.maven.archetypesand Artifact Idorg.apache.maven.archetypesis auto selected. - Leave version as
1.1(or the default). Click Next - In Specify archetype parameters you can add Groud Id:
io.myaseen, Artifact Id:myflumeapp(Feel free to use your name 🙂 ) - Click Finish. You will get a new project in your Project Explorer view.
An example interaction is shown in the following GIF:
In developing Flume components, we will need to extend from Flume’s base classes. For this we need to add Flume to project classpath so that we can reference it. Since this is a Maven project, the way we can achieve this is by listing Flume as a dependency of the project. So whenever the project is built / run Maven will check to see if Flume is available in classpath, if not it will automatically download it and make it available. To do this, fo to pom.xml (Make sure you are editing it in XML mode, not the GUI) and add the following after junit dependency:
[code lang=”xml”]
<dependency>
<groupId>org.apache.flume</groupId>
<artifactId>flume-ng-core</artifactId>
<version>1.7.0</version>
</dependency>
<!– https://mvnrepository.com/artifact/org.apache.commons/commons-lang3 –>
<dependency>
<groupId>org.apache.commons</groupId>
<artifactId>commons-lang3</artifactId>
<version>3.0</version>
</dependency>
[/code]
#2 Setting up Run configuration
With Flume dependency added, now go to your App.java class. It already has a Hello World program so if your project builds successfully, you can test it via command line. In order to run the project we need to tell Eclipse how exactly it should run our project. This can be done by specifying a ‘Run Configuration’:
- Click the black button on right of the little green “play” button. Then select ‘Run Configurations’. This will open a new window.
- Right click on Maven Build and click New.
- In the Name part write something like “FlumeBuild”.
- If your workspace text box is empty click on workspace button and select your project. It will fill up with something like
${workspace_loc:/myflumeapp} - In the goals part write
clean package - Click on Apply and then Run. When you click run Eclipse (well, really maven) will start building your project and will download the dependencies required to build and download. If this is the first time maven is running it may take a while to complete. If dependency download fails for some network related issue, you can run it again, it might take several runs to succeed.
This GIF shows the steps mentioned above.
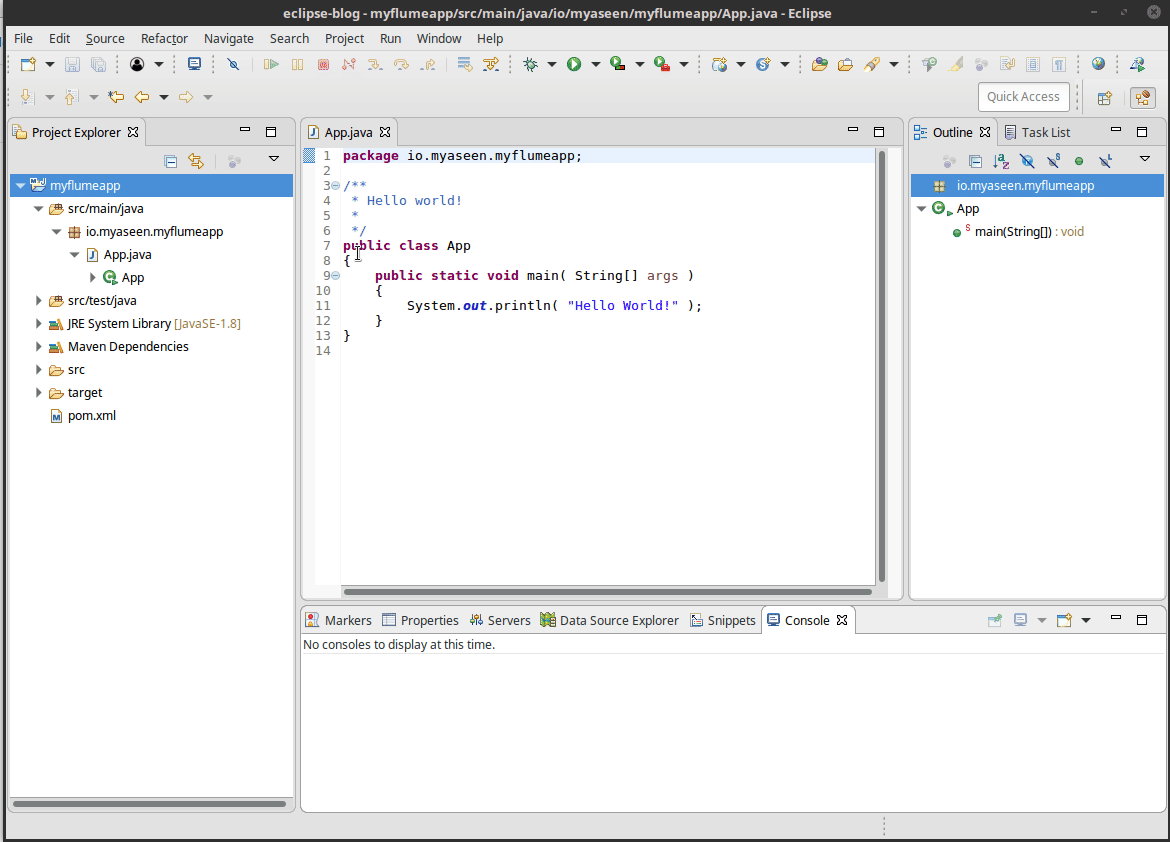
Once you get the BUILD SUCCESSFUL message go to you project location in Eclipse workspace e.g. /home/yaseen/eclipse-workspace/myflumeapp/ and head to target folder. You will find your shiny new JAR file in it sitting there waiting for you. Let’s test it by opening a terminal and executing the following command:
java -cp myflumeapp-0.0.1-SNAPSHOT.jar io.myaseen.myflumeapp.App
You should see Hello World printed on the console. This means that our JAR file is building fine and now that our maven build is working, we can add some Flume specific code.
#3 Creating custom Event Handler
Create 2 new Java classes in io.myaseen.myflumeapp package with class names: MyTestEvent and MyTestHandler. You can get the code we need to put in these classes from here.
MyTestEvent class represents the schema for your JSON data. MyTestHanlder is where you actually receive the event and implement your custom Flume event handler. MyTestHandler must implement HTTPSourceHandler from org.apache.flume.source.http package.
Build the project again, and if all goes well, then congratulations, now you have your custom Flume HTTPSource event handler. In the following paragraph, you can read how to refer to this custom handler in agent config files.
How to point to custom handlers, serializers, and interceptors?
We simply have to provide FQCN of the relevant class in the agent config file.
Handler:
flume_agent.sources.http_src.handler = io.myaseen.myflumeapp.MyCustomEventHandler
Interceptor:
flume_agent.sources.http_src.interceptors.i1.type = io.myaseen.myflumeapp.MyCustomInterceptor$Builder
Serializer:
flume_agent.sinks.hdfs_sink.serializer = io.myaseen.myflumeapp.MyCustomEventAvroSerializer$Builder
Where to put custom code?
Bundle your custom code in a JAR file (as we did above, JAR file in target folder) and put it in a folder in $FLUME_HOME/plugins.d directory. For example, $FLUME_HOME/plugins.d/my-custom-event-handler. If you have multiple JARs (for multiple agents etc, or implementing some different functionality) you should put each jar in a separate folder in plugins.d directory.
Be First to Comment